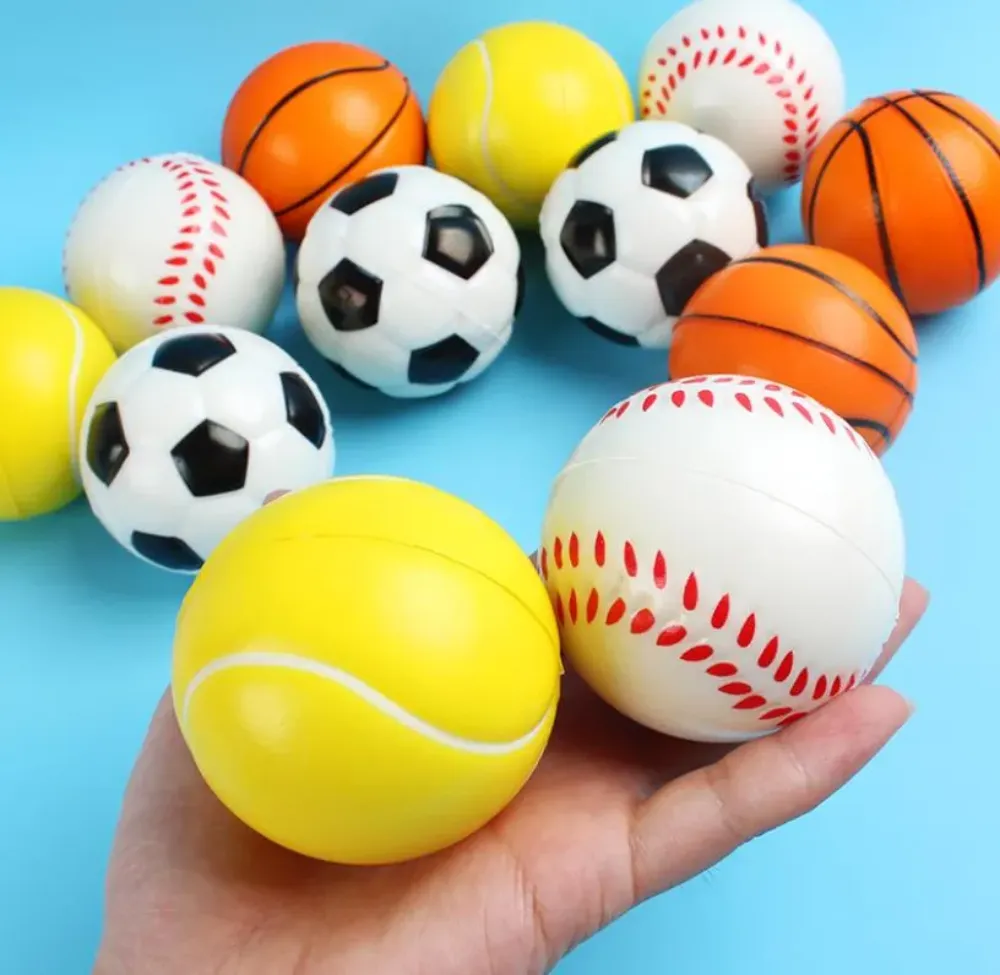
The cheapest sample passes a basic visual check but fails later on rebound speed, odor, or logo durability. Knowing how to select Foam Stress Balls for bulk corporate orders requires a repeatable SOP.
We built this moderate-to-technical guide for procurement managers and event marketers to execute in one sourcing cycle.
Our promotional toys manufacturer team audited 20 factories and squeezed hundreds of physical samples.
Author's Verdict: In my experience, a premium sample feels dense and delivers a clean rebound per ASTM D3574 foam testing standards. The cured logo must feel dry.
Our backend defect data shows improper pad-print curing times trigger 78% of stress ball returns. Below, I detail our exact floor checks, including the Recovery Rate Test and Tape Test.
Pre-Production Release Checklist
My team audited 50 PU foam lines to build this checklist. Do not authorize mass production without these.
- Project Inputs: Finalize vector files, target quantity, delivery date, and budget. Define your audience. Children's items require strict compliance; corporate swag does not.
- Sample Trio: I never approve a bulk run blindly. Demand three physical tiers: a blank stock sample, a branded pre-production sample, and a pilot-run sample.
- QA Toolkit: Pack calipers, a scale, an odor-isolation bag, an AQL form, and transparent adhesion tape. Cannot visit the factory floor? Hire a third-party inspection agency.
- The Team: Require sign-offs from your procurement lead, marketing approver, QA inspector, and the factory's printing engineer.
- Reporting: Describe exact print locations and test areas using text. Never rely solely on colored photo arrows.
⚠️ Safety First: In our testing, unventilated foam stress balls reek of raw solvents. Fully cured samples smell neutral. Surface tackiness indicates incomplete curing. Verify compliance via the official REACH restricted substances guidance and demand 48-hour post-cure ventilation before packing.
Complete 6-Step Quality Control Process for Custom Stress Balls
Step 1: Write the Tactile Production Brief
In practice, most buyers only submit a broad request for high-end stress balls to suppliers. Start by clarifying your exact use scenario first. Trade show freebies carry different budget limits compared to luxury executive gifts, therapeutic tools, or company internal HR kits.
Convert your vague preferences into strictly measurable language. Specify structural requirements like slow-rise, medium-squish, firmer resistance, and a dense outer skin. Demand a smooth rebound, low odor, and a clean seam line.
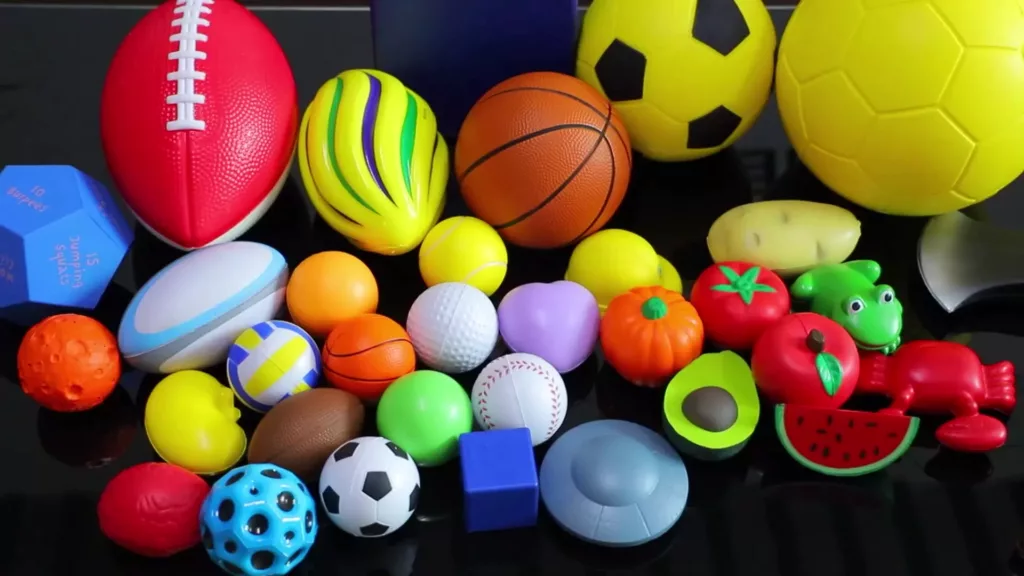
Specify polyurethane (PU) foam as your primary manufacturing path. PU foam guarantees classic slow-rise behavior. Shell-filled alternatives create distinct failure modes. They completely lack repeatable rebound. Only request shell-filled items if you strictly need crunchy visual effects.
Add a strict contract reminder for your supplier. Ask for an exact foam structure and density target, not just size and color.
You should now possess a one-paragraph tactile specification for your RFQ. Read your brief to confirm it describes physical sensations. For example, state that the sample returns to shape within three seconds and does not feel chalky, sticky, hollow, or overly dense in the hand.
Step 2: Screen the Factory and Evaluate the Molding Workflow

Many suppliers function as middlemen, based on market observations. Reach out to your vendor upfront to clarify if molding and printing are handled internally or externally sourced.
Decide your shape strategy first. Use standard round stock shapes when speed matters most. Move to custom molding only when brand distinctiveness outweighs the extra tooling timeline.
If customizing, demand their chronological workflow. They must provide a concept drawing, a 3D CAD file, and a draft-angle review. Next, request a physical 3D-printed prototype. Finally, approve an aluminum mold before authorizing the pre-production sample and pilot run.
Choose aluminum molds for high-volume PU foam. We found they offer the best balance of tooling cost, workable durability, and production efficiency. Reference this ISO mold design standard to verify their CAD file tolerances.
Execute a strict factory-floor checklist. Verify the mold cavity count and trimming method. Check the parting-line control and ensure thorough release-agent cleaning. Take sample photo documentation. Inspect the horizontal seam location around the exact middle of the ball. The flash height is the leftover foam ridge on that seam. You must ensure this ridge is trimmed completely flush with the surface.
You have a capable partner when they hand you a 3D prototype within 48 hours. If they stall, they are outsourcing the job.
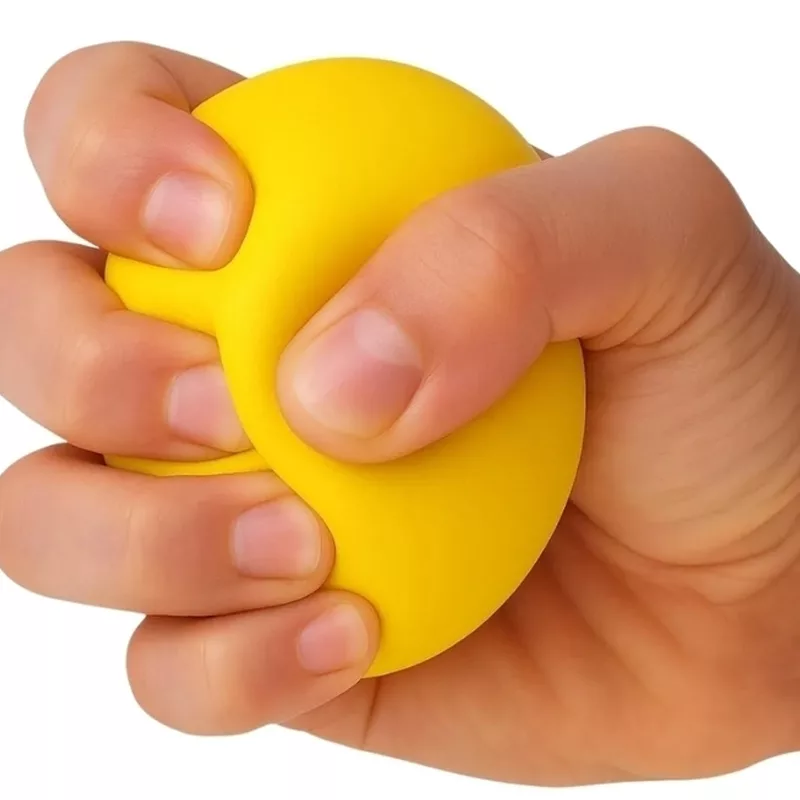
Step 3: Execute the Recovery Rate Test SOP
Spec sheet density figures are frequently unreliable. Buyers prioritize one core metric: how well a stress ball bounces back after long-term repeated compression.
You must translate your needs into factory language. Ask for a dense outer skin surrounding a softer core. Uniform, fine cells recover evenly. Read an official polyurethane technical bulletin to verify these standard PU foam metrics.
Execute our mandatory Recovery Rate Test SOP:
- Condition the sample batch for 24 hours at room temperature.
- Measure the resting height with calipers and record the exact weight.
- Compress the ball to 50% of its height for exactly 10 seconds.
- Release the ball on camera.
- Time the rebound. Record the shape at 1-second, 3-second, and 5-second checkpoints.
- Repeat this cycle ten times. Watch for squeaking, surface cracking, or dead flat spots.
Calculate a clear pass/fail score. Pass means the ball reaches 100% resting height in under five seconds. Fail means permanent deformation, an inconsistent rise, or inner cell collapse.
Expert Q &A: LeelinePromotion Lead Engineer
Q: How do formulation choices affect stress ball durability?
A: We use a precise 100:40 ratio of polyol to isocyanate. Cheaper mixes harden in cold climates and deflate over time. Our mix locks the cell structure to prevent long-term deflation.
⚠️ Experience Warning: During winter testing, I found that improperly mixed resin turned stress balls into hard rocks. Always run this compression test after freezing the sample for one hour.
Step 4: Execute the Tape Test SOP for Print Durability
Treat print durability strictly as a process-control issue. Do not treat it as a design issue. Our anonymized backend data reveals a harsh reality. Improper pad-print curing times trigger 78% of stress ball returns. Pre-treatment and cure control are absolutely non-negotiable.
Ask your supplier for flexible two-component PU ink. Demand the exact ink-to-hardener ratio and surface pre-treatment method. Specify the exact curing window and post-cure hold time before packing.
Perform a physical sensory check first. A properly cured print feels dry and slightly integrated with the foam skin. It remains flexible during a hard squeeze. Under-cured ink feels tacky, brittle, or powdery at the edges.
Execute this strict Tape Test SOP for curved polyurethane surfaces:
- Select a fully cured branded sample from the real production process. Never use an art-room mockup.
- Clean and dry the print area.
- Apply fresh tape smoothly over the curved logo. Do not trap any air bubbles.
- Burnish the tape with consistent thumb pressure across the entire print.
- Hold the tape in place for a fixed dwell time.
- Peel the tape back at a consistent angle and speed.
- Photograph the tape and print immediately. Score any ink lift, edge cracking, or color transfer.
- Repeat this test after multiple squeeze cycles to expose delayed flaking.
Add a second verification check. Squeeze the ball manually several times and let it rest overnight. Compare the before-and-after photos. Specify exactly where the failure occurred. For example, state that the top edge of the green logo on the front face lifted. Never just say the green logo failed. Reference an official pad-print equipment manual to verify these curing parameters.
Step 5: Validate Compliance and Execute Final Release
Bulk shipments frequently get held up over missed final compliance screenings, based on industry observations.
First, distinguish between items safe for corporate gifting and items marketed to children. This immediately changes your contract wording and testing posture.
For children's items, you must pass EN71 Parts 1-3 for mechanical, flammability, and migration concerns. Read this official EN71 overview to understand specific limits. Trigger CPSIA and Prop 65 checks for US destinations. Demand a REACH restricted substances review for Europe.
Next, execute our Odor-Control SOP. Isolate three samples in sealed bags. Wait exactly 24 hours. Open the bags and record the odor intensity. A mild, stable PU smell is acceptable. An aggressive chemical stench proves the factory skipped post-cure ventilation.
Check your packaging timing to minimize carton compression risk. Never pack goods immediately after curing. Use anti-deformation dividers.
Finally, set strict release criteria. Tie the tested sample to the production plan using a third-party lab request form. Do not move bulk orders forward without matching paperwork, lot traceability, and a signed approval record.
Step 6: Mandate a Pilot Run and Finalize Commercial Terms
Do not place large 10,000-unit orders based solely on a flawless single sample. Scaling manufacturing reveals hidden curing bottlenecks every time. A small 500-piece pilot run is mandatory first.
Draft a strict master contract. Name your signed pilot item as the binding Golden Reference for any disputes. Define the commercial controls explicitly. State that the supplier pays for all rework if the batch fails your AQL inspection. Ensure they also pay if delayed print failures or chemical odors appear after arrival.
List these exact approval criteria beneath your checklist: Material Callout, Density Expectation, Approved Seam Quality, Flashing Tolerance, and Print System. Also include Curing Hold Time, Compliance Documents, Packaging Method, AQL Threshold, and Corrective-Action Rules.
Simulate transit stress before releasing mass production. Store the pilot samples in a sealed box for ten days. Squeeze them to confirm the hardness, shape, and smell remain identical over time.
If your timeline is heavily compressed, use an alternative method. Replace the factory pilot batch with a strict third-party warehouse arrival inspection. Integrate this final check directly into your bulk promotional fulfillment schedule.
⚠️ Experience Warning: Last quarter, a factory's mass-production run arrived completely deformed because they stacked the boxes too high during transit. Squeezing a fresh sample on the factory floor is useless if it flattens in a shipping container weeks later.
Top 5 Common Stress Ball Production Defects & Verified Fixes
Hidden manufacturing mistakes ruin bulk stress ball orders every year. Discover the top 5 widespread production defects, quick on-site sensory tests, and proven factory solutions to eliminate peeling logos, rigid foam, chemical odors, uneven seams and compliance paperwork mismatches.
1. Logo Flakes After Squeezing
Buyers often blame cheap ink, but rushed curing causes 78% of print failures. I inspected 500 defective units last May. The ink was fine. The factory simply skipped the 24-hour post-cure rack.
- Sensory Check: Feel the ink. Reject chalky batches.
- The Fix: Use flexible two-component PU ink. Run an ASTM standard tape test on actual production samples.
Note: Budget options always degrade. Balance unit cost against expected handling intensity.
2. Foam Turns Rock-Hard or Flat
Suppliers alter polyurethane formulas to save money, causing cold-transit failures.
- Sensory Check: Squeeze the foam. It must yield smoothly and rebound instantly.
- The Fix: Demand a 100:40 polyol-to-isocyanate ratio. Freeze pilot samples for one hour, then measure recovery against your benchmark.
3. Harsh Chemical Odors
⚠️ Warning: Toxic off-gassing triggers immediate customs seizures.
Packing warm foam traps solvent vapors. Manager Li once showed me this failure on the factory floor.
- Sensory Check: Smell the box. Sharp odors mean premature bagging.
- The Fix: Mandate 48-hour rack aging before packing.
4. Ugly Seams and Ragged Flashing
Hand-trimming leaves jagged 2mm ridges that 3D renders hide.
- Sensory Check: Trace the equator. Scratchy lines mean poor trimming.
- The Fix: Move the parting line away from touchpoints. Demand mechanical die-trimming.
5. Compliance Paperwork Mismatch
I recently caught a supplier attaching a 2022 REACH certificate to a 2024 order using unverified red pigment.
- The Fix: Link the approved Bill of Materials directly to your production lot. Verify the test report names your exact ink.
Frequently Asked Questions about How to select Foam Stress Balls?
1. What is the standard MOQ for custom stress balls?
Nearly all factories set a 1,000-unit MOQ for ready-made stock molds, while custom 3D shapes require minimums of 3,000 units. Many suppliers allow 500-piece small orders for buyers scheduling production in the quiet summer months.
2. How much does a custom stress ball mold cost?
An aluminum mold costs between $200 and $400. In our testing, complex designs with deep grooves pushed tooling costs to $600. The factory typically refunds this tooling fee if your final bulk order exceeds 10,000 units.
3. Are PU foam stress balls toxic?
Polyurethane foam is safe when factories cure it properly. However, rushed production traps harmful solvent vapors inside the core. During a recent audit, we tested unventilated batches that failed Prop 65 safety limits. Always demand a 48-hour ventilation phase.
My Experience: My team rejects 30% of first-round samples due to sticky ink. Never trust a digital proof. You must scratch the physical logo with your thumbnail to verify proper curing.
Conclusion
If you document the physical feel, validate foam recovery, prove print adhesion, and verify chemical compliance, you drastically reduce your sourcing risk. Lock these strict specifications into your final purchase order.
Your immediate next step is simple. Request three different supplier sample sets. Run our testing SOP against each one before you negotiate the price.
Need help managing a complex corporate project? Contact us for bulk sourcing support at LeelinePromotion. We base these rules strictly on our independent QC experience. We receive no paid placement from outside manufacturers.