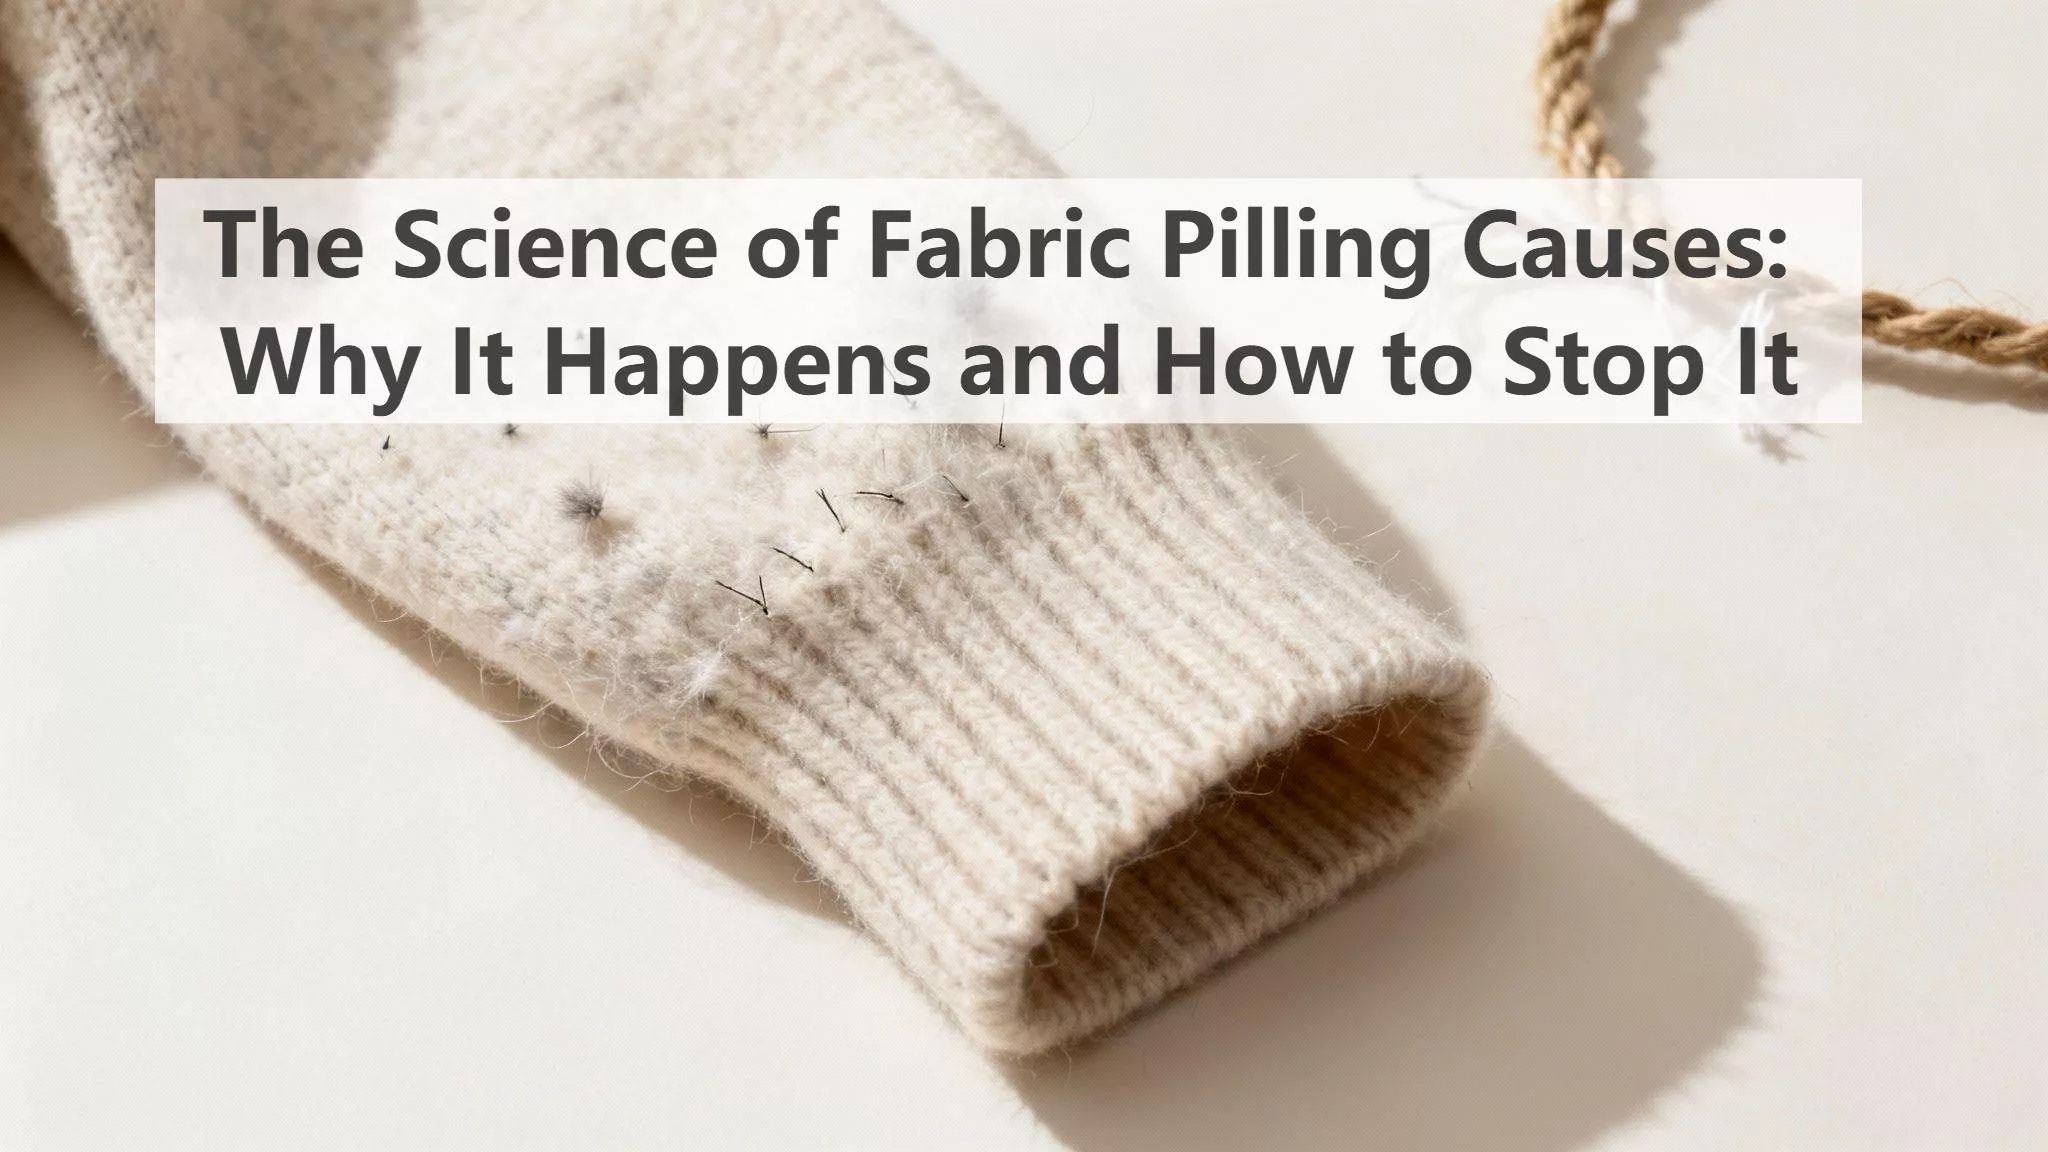
Pulling a favorite knit from the wash to find it covered in fuzzballs is frustrating, but the garment is rarely past the point of no return. Pilling is mechanical fiber migration triggered by friction, not necessarily a sign of low quality. Understanding specific fabric pilling causes, primarily loose staple fibers tangling on the surface, allows you to reverse the damage.
As noted in textile performance studies, abrasion resistance depends heavily on yarn twist and fiber length rather than price point alone. Whether you are a consumer saving a sweater or a procurement manager defining quality control standards, the solution requires reducing physical agitation. We will examine how to identify high-risk knits, adjust laundry protocols to stop degradation, and mechanically remove pills without thinning the weave.
What You Need
Time: 10 minutes (diagnosis), 5–20 minutes (removal).
Select tools based on fiber density to prevent permanent damage. Consult our guide on apparel fabric types if identifying the material is difficult.
Equipment Checklist
- Electric fabric shaver: For heavy knits, cotton, and polyester fleece.
- Sweater stone/pumice: For sturdy wools (requires manual control).
- Fine-tooth fabric comb: For delicates like Cashmere and Merino.
- Lint roller: For loose surface debris only.
- Mesh laundry bags: To isolate knits and prevent friction in future washes.
Risk Mitigation
- Do not pull by hand: This pulls staple fibers out of the weave and creates holes.
- Test blades: Always test razors or shavers on an inside seam first.
- Delicates: Use the gentlest tool (comb) for open knits to avoid snagging loops.
- Compliance: Require REACH or OEKO-TEX documentation for all anti-pilling finishes.
⚠️ Safety First: Stop immediately if you hear a snag. When using electric shavers on loose knits, the blade can catch a yarn loop and cut a hole instantly. Use a comb for these textures.
Step 1: Diagnose the Surface Texture
You must distinguish between pilling (requires cutting) and lint (requires lifting).
- Inspect under bright light. Lay the garment flat. Look for small shadows cast by raised bumps.
- Run your fingertips across the area.
- Pilling: Hard, gritty balls that "catch" slightly on your skin.
- Lint: Soft, foreign fibers that slide easily.
- Fuzz: A general soft halo without distinct balls. Stop: Do not shave this or you will thin the fabric.
- Perform the sticky test. Press a strip of masking tape or a lint roller firmly onto the spot and peel back.
Verify the result:
- If the debris lifts cleanly onto the tape, it is lint.
- If the balls stay attached and pull the fabric weave upward, it is pilling.
🚀 Actionable Insight: Use your phone camera at*3x zoom to check the base of the bump. If you see tiny threads tethering the ball to the fabric, you must sever the anchor mechanically. Do not pull it by hand.*
Step 2: Map the High-Friction Zones
Pilling is not random; it creates a visible "heat map" of mechanical abrasion. You must identify the specific friction source to stop the cycle.
- Lay the item flat. Use bright lighting to scan for fiber tangles.
- Inspect body hotspots. Check the underarms, inner thighs, and cuffs. These areas degrade from heat and skin-on-fabric friction.
- Trace external contact. Look for damage on the left shoulder (seatbelts), lower back (backpacks), or the midriff (desk edges).
- Perform a sensory check. Run your hand from a pristine area to the pilled zone. The damaged fabric will feel rougher and appear matte compared to the rest of the garment.
Verification: State the specific abrasion source (e.g., "The pilling on the side seam is caused by my bag strap").
Step 3: Diagnose Fiber Content and Construction
Inspect the Care Label or product specifications to identify the material blend and yarn structure.
- Analyze Fiber Behavior: Pilling starts when fibers loosen and tangle.
- Synthetics (Polyester, Acrylic): High strength. These fibers anchor pills permanently to the fabric.
- Naturals (Cotton, Wool): Lower strength. Pills often break off and shed naturally.
- Blends: Highest risk. Strong synthetic fibers trap shedding natural fuzz, creating persistent pills.
- Check Staple Length: Look for Short staple fibers (common in budget yarns). These expose more loose ends than smooth Long-filament yarns.
- Identify Construction: Compare Knits vs. Wovens. Looped knits allow fibers to move and rub, accelerating fuzz formation compared to tight wovens.
- Sensory Check: Run your hand over the surface. A soft, fuzzy "halo" indicates immediate pilling risk before distinct balls form.
Verification: You should be able to state the cause: "This garment is a synthetic blend made with short staple fibers."
Step 4: Conduct a Pre-Purchase Fabric Audit
Filter out high-risk textiles before ordering using this 60-second assessment.
Consumer Inspection
- Check density. Hold the garment to a light source. Prioritize tight weaves that block light over loose, open knits.
- Evaluate texture. Select fabrics with a "slick" hand. Avoid fuzzy surfaces like brushed fleece to minimize fabric pilling causes.
- Simulate friction. Rub the fabric against itself for 10 seconds. If fibers loosen or tangle immediately, reject the item.
Enterprise Sourcing Checklist
- Define yarn quality. Specify Long-Staple, Combed, or Ring-Spun cotton in your tech pack to mechanically reduce short fibers.
- Demand data. Require an ISO 12945 pilling report before bulk commitment. Consult the official ISO catalogue for specific testing parameters.
- Reinforce hotspots. Design patches for high-friction zones (elbows, shoulders) if you must use soft, loose knits.
🚀 Actionable Insight: The Softness Trap: Extremely "buttery" fabrics often pill fastest because fibers are intentionally broken to create that texture. If durability is the priority, choose a tighter, "harder" weave over immediate softness.
Step 5: Eliminate Mechanical Friction Sources
Identify one specific contact point causing abrasion and neutralize it immediately.
- Secure Fasteners: Close all Velcro tabs and zippers. Exposed hooks act as microscopic razors that shred soft knits instantly.
- Rotate Bags: Swap abrasive canvas backpacks for smooth leather totes. If pilling concentrates on one shoulder, switch to a handheld bag or crossbody to move the friction zone.
- Audit Layers: Check jacket linings. Do not wear rough, unlined denim or canvas over delicate wool; the internal friction acts like sandpaper.
- Adapt for Movement: Select dense compression fabrics for high-step activities. Soft brushed cotton cannot mechanically withstand inner-thigh abrasion during long commutes.
Sensory Verification: Test for "drag." If your garment grabs against a desk chair arm or seatbelt rather than gliding smoothly, you are actively creating damage.
Verification: You have implemented one behavioral change today (e.g., "I will carry a handheld bag when wearing this cardigan").
Step 6: Execute the Anti-Pilling Wash Workflow
Use this specific sequence to minimize fiber abrasion (the primary cause of pilling) and prevent mechanical damage.
- Isolate the surface: Turn every garment inside out. This restricts mechanical rubbing to the inner seams.
- Neutralize hardware: Fasten zippers, hooks, and buttons. Tie drawstrings to prevent snagging. Open metal teeth act like saws against soft fabrics.
- Sort by weight: Separate heavy textures (denim, towels) from soft blends. Heavy items grind delicate fibers like sandpaper during the spin cycle.
- Shield logic: Place knits and synthetics in mesh laundry bags to prevent tangling.
- Configure washer: Select the Delicate or Hand Wash cycle. Set water temperature to Cold.
- Load correctly: Fill the drum loosely. You must see empty space at the top; overcrowding forces garments to grind against each other.
- Detergent strategy: Use a liquid detergent containing cellulase enzymes (which help smooth fibers). Avoid powders that increase friction.
- Dry strategically: Lay knits flat to air dry. If using a dryer, select Low Heat or Air Fluff and remove items promptly.
Step 7: Remove Pills with the "Technique Ladder"
Lay the garment flat on a firm surface, such as a table. Gently stretch the target area taut with your non-dominant hand to prevent the fabric from bunching.
Select your removal method based on the fabric type, starting with the least aggressive tool:
- Fabric Comb (Delicates): Apply short, light strokes in one direction along the fabric grain.
- Sweater Stone (Textured Knits): Glide gently over the pills with minimal pressure.
- Electric Shaver (Synthetics/Cotton): Keep the head perfectly flat against the fabric. Move in small, controlled circles.
- Razor (Sturdy Weaves): ⚠️ Warning: Use extreme caution. Hold the blade at a shallow angle and lightly skim the surface.
Sensory Check: The motion should feel like a smooth pass. If you hear harsh scraping or feel the tool "catch," reduce pressure immediately. You are trimming surface fuzz, not sanding the material.
Verification: Run your palm over the area. The surface should feel smooth and look even, without thinning or snags.
Step 8: Benchmark Tool Efficiency (The Comparative Test)
Perform a diagnostic test on a hidden 3-inch square (e.g., inner hem) to validate tool safety before treating the entire garment.
- Electric Shaver: Apply light circular pressure. Listen: A consistent "crunch" confirms blades are slicing pills. ⚠️ Warning: If the motor whines or pitch drops, stop immediately; the mesh is catching the fabric.
- Sweater Stone: Drag downward with medium pressure. Sensory Check: You should feel gritty resistance. If the stone crumbles or drags heavily, the abrasive is too harsh for this fabric density.
- Fabric Comb: Use short, rapid strokes along the grain. Verify: Pills should "pop" off cleanly without pulling the base weave.
Selection Matrix
| Tool | Speed | Finish | Best Use |
|---|---|---|---|
| Electric Shaver | High | Matte/Uniform | Fleece, Synthetics, Cotton Blends |
| Sweater Stone | Medium | Textured | Heavy Wools, Sturdy Knits |
| Fabric Comb | Low | Precise | Cashmere, Merino, Delicate Seams |
| Razor Blade | Medium | Smooth | Emergency Only (High Cut Risk) |
Step 9: Standardize Sourcing Specifications
To prevent pilling-related returns on custom promotional clothing, translate quality expectations into technical data in your Tech Pack.
- Define Manufacturing Specs
- Yarn: Mandate Long-staple or Filament yarns. Avoid "Open-End" spinning, which leaves exposed fiber ends.
- Construction: Use tighter knit gauges in apparel manufacturing methods**** to lock fibers in place.
- Finish: Request anti-pilling treatments (enzyme wash or singing) with REACH/OEKO-TEX compliance.
- Require Lab Validation Validate bulk lots against official standards rather than subjective feel. Request reports for:
- ISO 12945: The global standard for determining pilling propensity.
- Martindale (ISO 12947): Measures abrasion resistance.
- ASTM D3512: The standard for random tumble pilling.
- Perform a Sensory Check High-grade fabrics feel dense and smooth. Be skeptical of "ultra-soft" brushed surfaces without test data; they often lack the yarn twist required to pass durability tests.
Step 10: Establish a Lifecycle Maintenance Routine
Set a maintenance schedule based on wear frequency. Treat high-value items like cashmere or specific types of clothingwith a stricter cadence than daily wear.
The Maintenance Protocol
- De-pill Early: Remove pills while they are small. Large accumulations mat into the weave, increasing removal risk.
- Brush Before Washing: Vigorously shake or brush garments before the wet cycle to dislodge loose fibers.
- Store Correctly: Fold all knits. Hanging stretches yarn loops, loosening the tension that locks fibers in place.
- Sort by Contrast: Wash lights and darks separately. High-contrast lint (e.g., white on black) makes pilling appear significantly worse.
Verification: You have a defined trigger (e.g., "De-pill monthly") to intervene before fabric failure.
Troubleshooting Common Failures
Even strict maintenance fails if the underlying fiber physics are ignored. Use these diagnostics to resolve issues without damaging the garment.
Issue: Pills Return After Washing
Diagnosis: Abrasion is re-introduced during the spin cycle. Fix: Segregate textures. Heavy items like denim act as sandpaper against soft knits. Always wash delicate items inside out within mesh bags to prevent friction against the drum or zippers.
Issue: De-pilling Caused a Snag
Diagnosis: The blade caught a structural loop rather than surface fuzz.
Fix: Switch to a Fabric Comb or Sweater Stone. Keep the fabric 100% taut on a hard surface to prevent bunching.
Issue: Inner Thighs Pill Constantly
Diagnosis: Mechanical stress in high-friction zones exceeds fiber strength. Fix: Rotate usage. Allow fibers 24 hours to recover elasticity between wears. For high-activity days, swap brushed cotton for high-twist compression nylon, which offers superior abrasion resistance.
Issue: "Pill-Resistant" Fabric Failed
Diagnosis: Short-staple fibers in the blend are migrating to the surface. Fix: Ignore the label; check the physics.
Issue: Debris Won't Remove
Diagnosis: Likely lint or shedding, not rooted pills. Fix: Press packing tape onto the spot. If debris lifts cleanly without pulling the weave, use a sticky roller. Using a shaver here causes unnecessary fiber loss.
Issue (Enterprise): Supplier Provides No Data
Diagnosis: Subjective quality claims often hide cheap filler materials. Fix: Demand objective proof. Require ISO 12945 (Pilling Box) or Martindale test reports. Legally bind the factory by specifying "Minimum Grade 3-4" in your purchase order.
Conclusion
Pilling is not a mystery; it is a predictable result of abrasion, loose fiber ends, and fabric construction. By understanding the physics of fiber migration, you can move from frustration to management—reducing friction to prevent damage and using controlled mechanical tools to restore the surface.
Your Success Checklist:
- Identified: You confirmed the issue is pilling (anchored balls), not just lint.
- Isolated: You changed at least one friction source (e.g., bag strap or laundry method).
- Protected: You implemented the gentle, inside-out laundry workflow.
- Restored: You chose the correct tool (shaver vs. comb) and removed pills without thinning the weave.
For Enterprise Buyers: If you are sourcing apparel, do not rely on touch alone. Update your sourcing specs to include pilling resistance testing requirements (specifically ISO 12945 or Martindale abrasion benchmarks) to ensure durability before production begins. Whether you are looking for resilient uniforms or custom clothing manufacturers Australia, specifying yarn quality upfront is the only way to guarantee longevity.
Next Steps: If you are sourcing branded apparel and need fabrics that hold up to real-world wear, ensure your manufacturer has a robust QC plan. Request a quote and quality assurance plan from LeelinePromotion today.
Frequently Asked Questions for Fabric Pilling Causes
Q1. Does pilling mean the fabric is poor quality?
Not necessarily. While pilling can indicate the use of cheaper short-staple fibers, it also occurs in high-end luxury textiles like cashmere and merino wool due to their soft, loose construction. Pilling is simply the mechanical migration of fiber ends to the surface. However, persistent pilling in synthetic blends often signals insufficient yarn twist or a lack of proper singeing treatments during manufacturing.
Q2. Can you permanently stop pilling?
You cannot eliminate pilling entirely from soft knits, but you can drastically reduce it. Prevention requires a two-step approach: reducing mechanical friction (e.g., avoiding velcro or rough bag straps) and using a gentle laundry workflow (inside out, mesh bags). For enterprise sourcing, pilling can be minimized at the production level by specifying long-filament yarns and high-twist constructions in your Tech Pack.
Q3. Is it safe to use a fabric shaver on all clothes?
No. Electric fabric shavers are safe for dense fabrics like cotton sweatshirts, polyester fleece, and tight wool knits. However, do not use motorized shavers on loose open weaves, embroidery, or delicate silks, as the blades can catch a loop and cut a hole in the fabric. For these delicate items, use a manual fabric comb or a cashmere brush to gently lift the pills without damaging the structural integrity.
Q4. Which fabrics are the most resistant to pilling?
Fabrics made from natural long fibers (like linen and silk) or tightly woven synthetics (like high-performance nylon) are naturally resistant. Tightly woven fabrics (denim, poplin) pill less than knits because the fibers are locked in place. In contrast, blends (e.g., cotton-polyester) are the most prone to pilling because the strong synthetic fibers hold onto the shedding natural fibers, anchoring the pills to the surface.